There’s a sando sandwich my grandmother used to make on Sunday afternoons. To this day, the smell of soft milk bread and melted butter takes me right back to her kitchen — the scratched wooden table, the radio playing softly in the background, her hands moving without ever needing to measure anything.
She never recorded this recipe. She didn’t need to. It resided in her hands: how she knew the thickness to cut the bread, how gently to press each layer together. I would sit there, watch her, and think I would remember all the steps forever. Myself didn’t know then that I should have been paying more attention — one day everybody would come to an end and all I would have left was the smell and the shape of her hands moving.
I have been trying to duplicate it in my mind for years since her death. There were many times I tried to make a bread that was too thick, the layers were too loose, the mustard-to-butter ratio was too high or too low, and a few times I cried in the kitchen, before I finally got close enough to call it hers again. Weirdly, you’re going for a taste. You’re not simply attempting to duplicate food. You are attempting to cling to a person.
This is that recipe: simple ingredients, a little bit of patience, and a whole lot of heart.
What Makes a Sando Sandwich Special
A sando isn’t your everyday sandwich. It’s a Japanese-style sandwich known for its soft, pillowy milk bread and clean, precise layers — simple, honest ingredients treated with care instead of complicated techniques. The crusts are trimmed away, the fillings are pressed neatly between the slices, and every bite ends up looking almost too tidy to eat.
Grandma was not aware that she was creating something with a trendy name. She knew that soft bread, good cheese, and a little mustard made people feel cared for. For her, it wasn’t about the presentation; it was about love between two slices of bread. This sando is a testament to the fact that comfort food can be simple and memorable. The simplest things are the ones that we remember the longest.
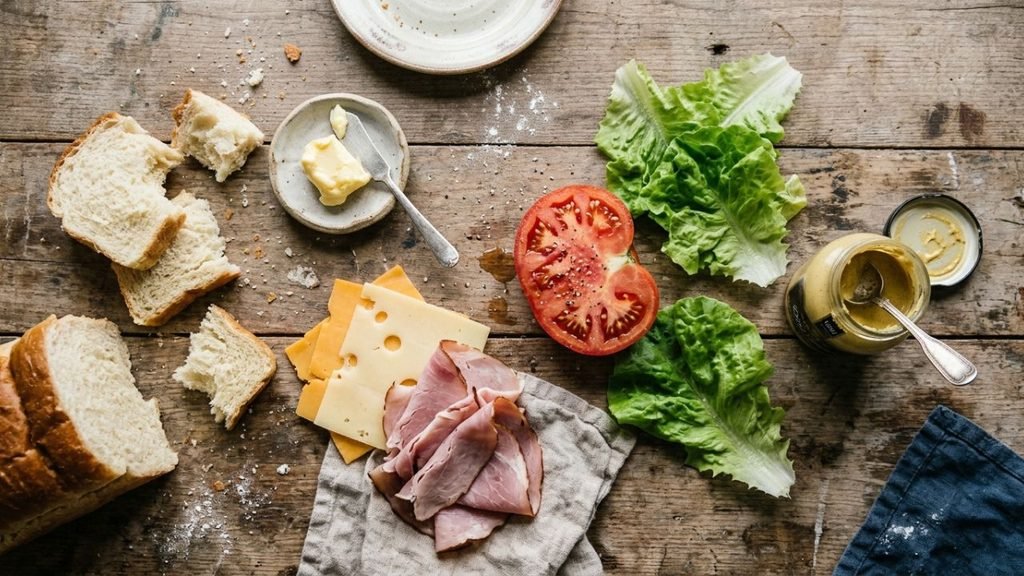
Ingredients You’ll Need
- 4 slices soft Japanese milk bread (shokupan), crusts trimmed
- 3 tablespoons softened butter
- 4 slices sharp cheddar or Swiss cheese
- 2 slices of ham or turkey (optional, for a heartier version)
- 1 small tomato, thinly sliced
- A handful of fresh lettuce or shredded cabbage
- 1 teaspoon Dijon mustard (Grandma’s secret addition)
- Salt and pepper, to taste
A quick note on ingredients: don’t feel like you need to track down anything exotic. Grandma made this with whatever was in the fridge that week. The soft milk bread is really the only non-negotiable — it’s what gives the sando its signature texture, soft enough to almost melt against the fillings
Get more information about katsu-sando, including its ingredients, preparation method, history, and traditional Japanese serving styles.
How to Make Grandma’s Sando Sandwich
Step 1: Prep the Bread. Trim the crusts off each slice of milk bread, then spread softened butter evenly on one side. This is what gives the sando its soft, clean bite — don’t skip trimming the crusts; it’s what makes a sando a sando. Grandma used to save the crusts in a jar for breadcrumbs later; nothing in her kitchen ever went to waste.
Step 2: Add the Mustard. On the unbuttered side of two slices, spread a thin layer of Dijon mustard. Grandma always said it “wakes the sandwich up.” It’s a small step, but it’s the one people notice most — that little bit of sharpness that keeps every bite from feeling flat.
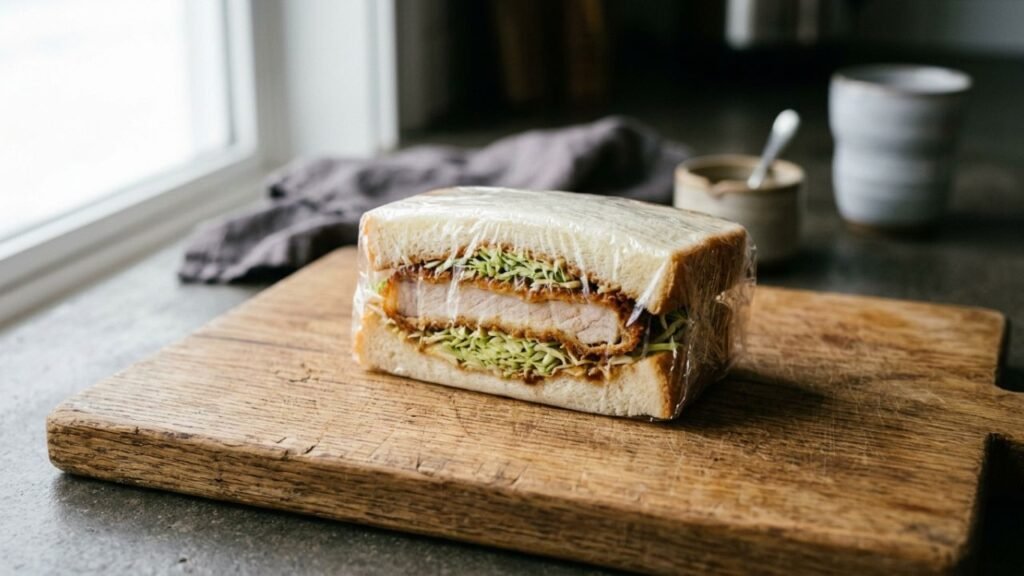
Step 3: Layer the Fillings. Add the cheese, followed by the ham or turkey if using, then the tomato slices and lettuce or cabbage. Season lightly with salt and pepper. Press each layer down gently as you go — a sando is all about neat, even layers. Take your time here. This was always Grandma’s favourite part, the quiet moment of building something with her hands.
Step 4: Assemble and Press. Close the sandwich with the remaining bread slices. Wrap tightly in plastic wrap and let it rest in the fridge for 10-15 minutes. This helps the layers set so you get clean, sharp slices instead of a filling that spills out the second you cut into it. It’s a small bit of patience that makes all the difference.
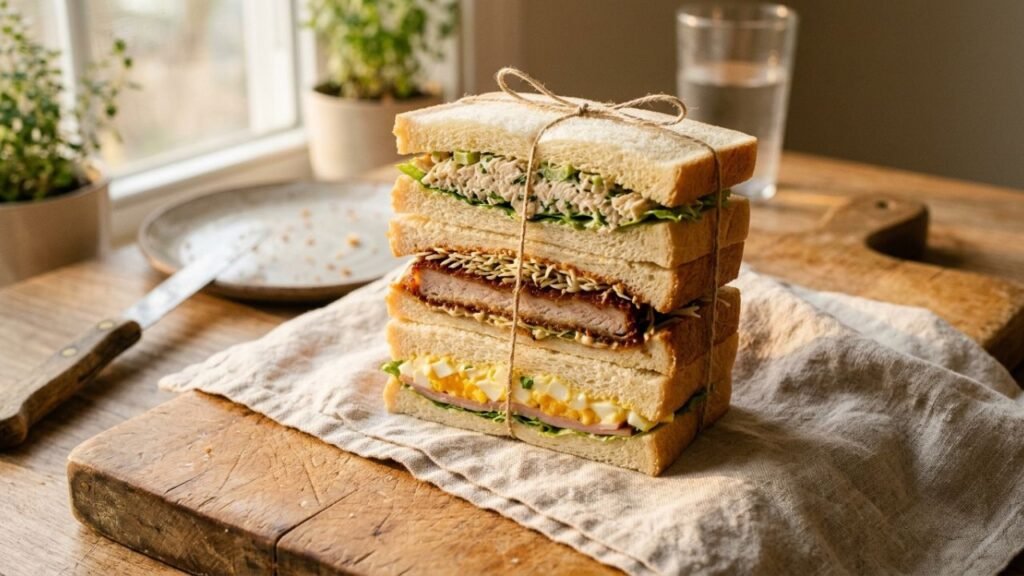
Step 5: Slice and Serve. Unwrap and slice in half, or into thirds for smaller portions — Grandma always cut it precisely. She said, “a sando should look as good as it tastes.” She wasn’t wrong. There’s something satisfying about seeing those clean, even layers when you finally cut through.
Read about this delicious Heavenly Hash Cake recipe, including its ingredients, preparation steps, and helpful baking tips.
Tips to Make It Truly Yours
- Don’t rush the chill time. The 10-15 minutes in the fridge feels unnecessary, but it’s what keeps your slices clean and your layers intact.
- Use good bread. Grandma always said a sandwich is only as good as the bread holding it together. Soft, fresh milk bread makes all the difference here.
- Add your own twist. She used what she had — sometimes it was ham, sometimes it was just cheese and tomato, sometimes a smear of something sweet on the other side. Don’t be afraid to make it your own, as she did.
- Save the crusts. Toast them up for breadcrumbs or croutons, just like she did. Nothing has to go to waste.
Frequently Asked Questions
Can I make a sando sandwich ahead of time?
Yes — that’s actually part of what makes it work so well. Assemble it, wrap it tightly, and let it chill in the fridge for up to a few hours before slicing. The rest time only helps the layers hold together better.
What bread can I use if I can’t find milk bread?
Soft white sandwich bread is the closest substitute. It won’t be quite as pillowy as shokupan, but it’ll still give you that soft, clean bite the sando is known for.
Can I make this vegetarian?
Absolutely. Leave out the ham or turkey and add extra cheese, avocado, or a soft-boiled egg for heartiness. Grandma often made a meatless version on Fridays.
How long does it keep?
It’s best eaten within a few hours of assembling, once the bread has had time to set but before it starts to soften too much. If needed, it’ll keep wrapped in the fridge overnight.
Why This Recipe Still Matters
There are things that food can do that photos can’t; the sound of a kitchen, the warmth of a hug, the comfort of knowing someone made something just for you. This sando is so much more than ingredients. It’s about the person that made it feel like home, and it’s about the quiet, normal Sunday afternoons that were as important as I could have imagined.
I still make it the way she did — trimmed crusts, careful layers, a short rest in the fridge. Some days it comes out exactly like hers. Other days it doesn’t, and that’s okay too. Either way, making it keeps her close.
If you make it, I hope it brings a little of that warmth into your kitchen too — one soft, pressed bite at a time.
Pingback: Mafaldine Bolognese: A Rich, Silky Pasta Dinner